
Affiliate disclosure: This article contains affiliate links. If you sign up through one of our links, we may earn a commission at no extra cost to you.
This Make Google Sheets Gmail automation turns a new spreadsheet row into an email without writing code. In our test, a Google Sheet containing Name, Email, Topic and Notes supplied the information for a Gmail message. The received email showed those four values, giving us a clear way to check the result.
The workflow has two modules:
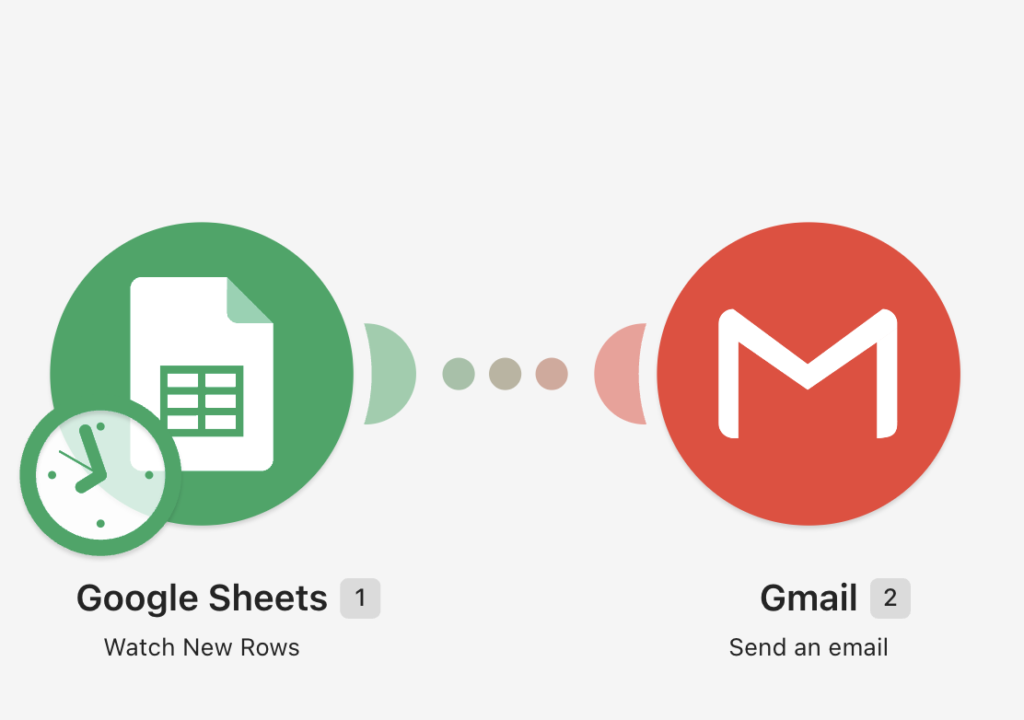
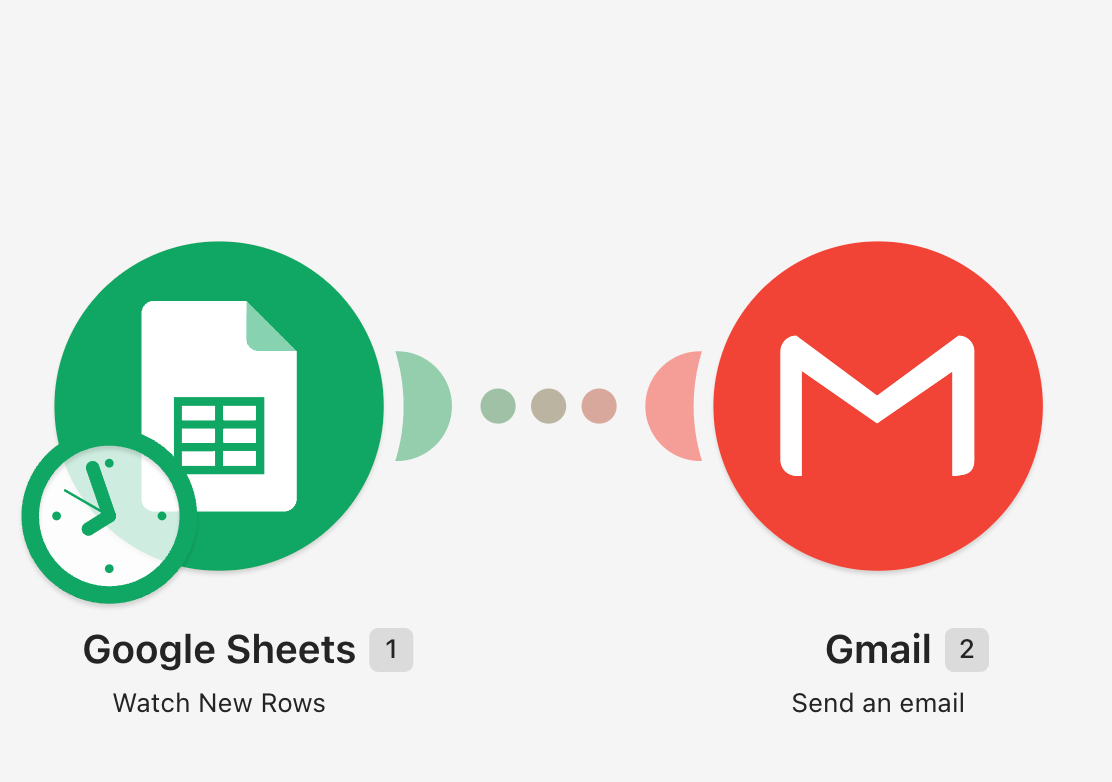
Google Sheets — Watch New Rows → Gmail — Send an email
This tutorial uses an email sent to your own inbox as the first test. The Email column is included in the message body; it does not have to be the destination address. Once the test works, you can adapt the workflow to send internal enquiry notifications or other useful updates.
If you are still deciding whether Make fits your business, read our hands-on Make.com review.
Tap or click any screenshot to view it at full size.
What you need
- A Make account.
- A Google Sheet you can edit.
- A Gmail account you can connect to Make.
- A real inbox you control for receiving the test message.
Start with Make for free. The Free plan currently permits scheduled runs at intervals of at least 15 minutes; faster polling depends on your plan. Check Make’s current pricing before choosing a paid plan.
Step 1: Prepare a small test spreadsheet
Put these column names in row 1:
- Name: Test User
- Email: your-email@example.com
- Topic: Automation Test
- Notes: First Make test
Use this row as sample data. The example.com address is a placeholder, so it should not be used as an actual delivery destination. We will send the test email to a real inbox you control instead.
Keep the data together, with one record per row. Avoid blank rows inside the data: Make’s Google Sheets documentation warns that Watch New Rows does not process subsequent rows after a blank row. Source: Google Sheets modules.

Step 2: Create the two-module scenario
Create a scenario in Make. Add Google Sheets and select Watch New Rows. Add a second module for Gmail and select Send an email.
You should see the two apps connected on the canvas, with Google Sheets first. Give the scenario a useful name, such as “Email New Google Sheets Rows.”
If you use Make’s AI-assisted builder, describe the outcome clearly: watch for a new row, then email the row’s values to your own inbox. Review the generated modules before continuing. An AI-generated outline still needs account connections, field settings and a test.
Step 3: Configure Google Sheets
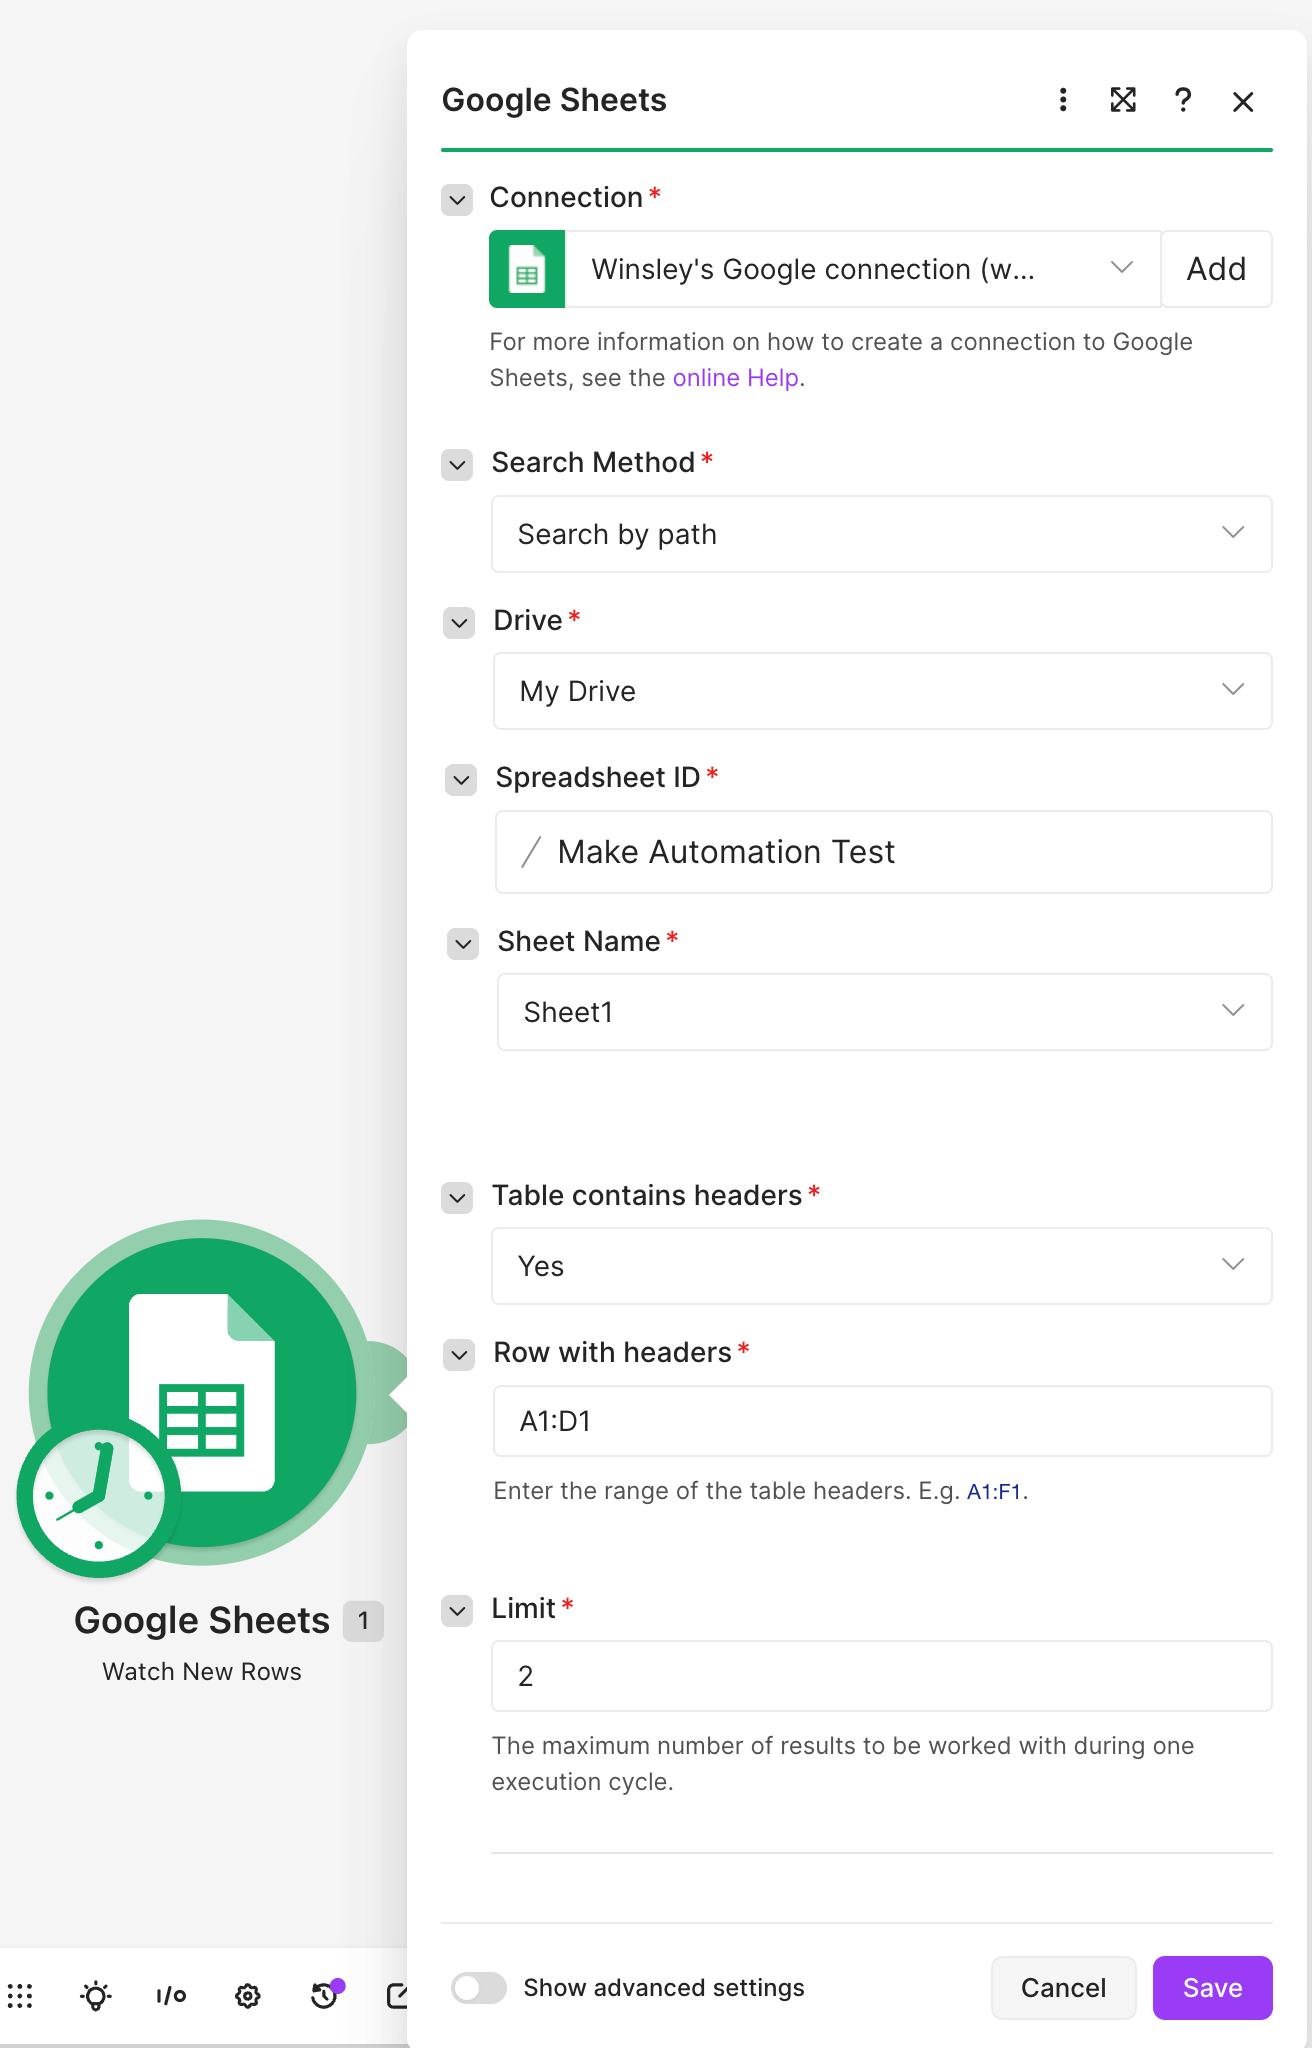
Open the Google Sheets module and connect the account that has access to your test file. Select the spreadsheet and the correct worksheet tab. Tell Make that the table has headers and select the row containing those headings.
Our Google Sheets settings screenshot shows:
| Setting | Value in our test scenario |
|---|---|
| Search Method | Search by path |
| Drive | My Drive |
| Spreadsheet | Make Automation Test |
| Sheet Name | Sheet1 |
| Table contains headers | Yes |
| Row with headers | A1:D1 |
| Limit | 2 |
The limit controls the maximum number of results processed in one execution cycle. With these settings, Make can process up to two new rows per cycle. Select your own spreadsheet and worksheet rather than assuming they use these names.
Make’s trigger setup guide explains the spreadsheet, header and limit fields. Check the module’s current labels if your interface differs.
Step 4: Choose which rows to process
After saving the Google Sheets module, use the Choose where to start window. If it is closed, right-click the Google Sheets module and select Choose where to start. Decide whether your first run should include existing test data or only rows added from now on.
Choosing All can process existing rows. Use that option only in your small test sheet. If you choose to start from now on, append a fresh row after setting the starting point so the trigger has something new to find.
Keep scheduling off while setting up the scenario. This makes the first run easier to control and inspect.
Step 5: Configure Gmail and map the row values
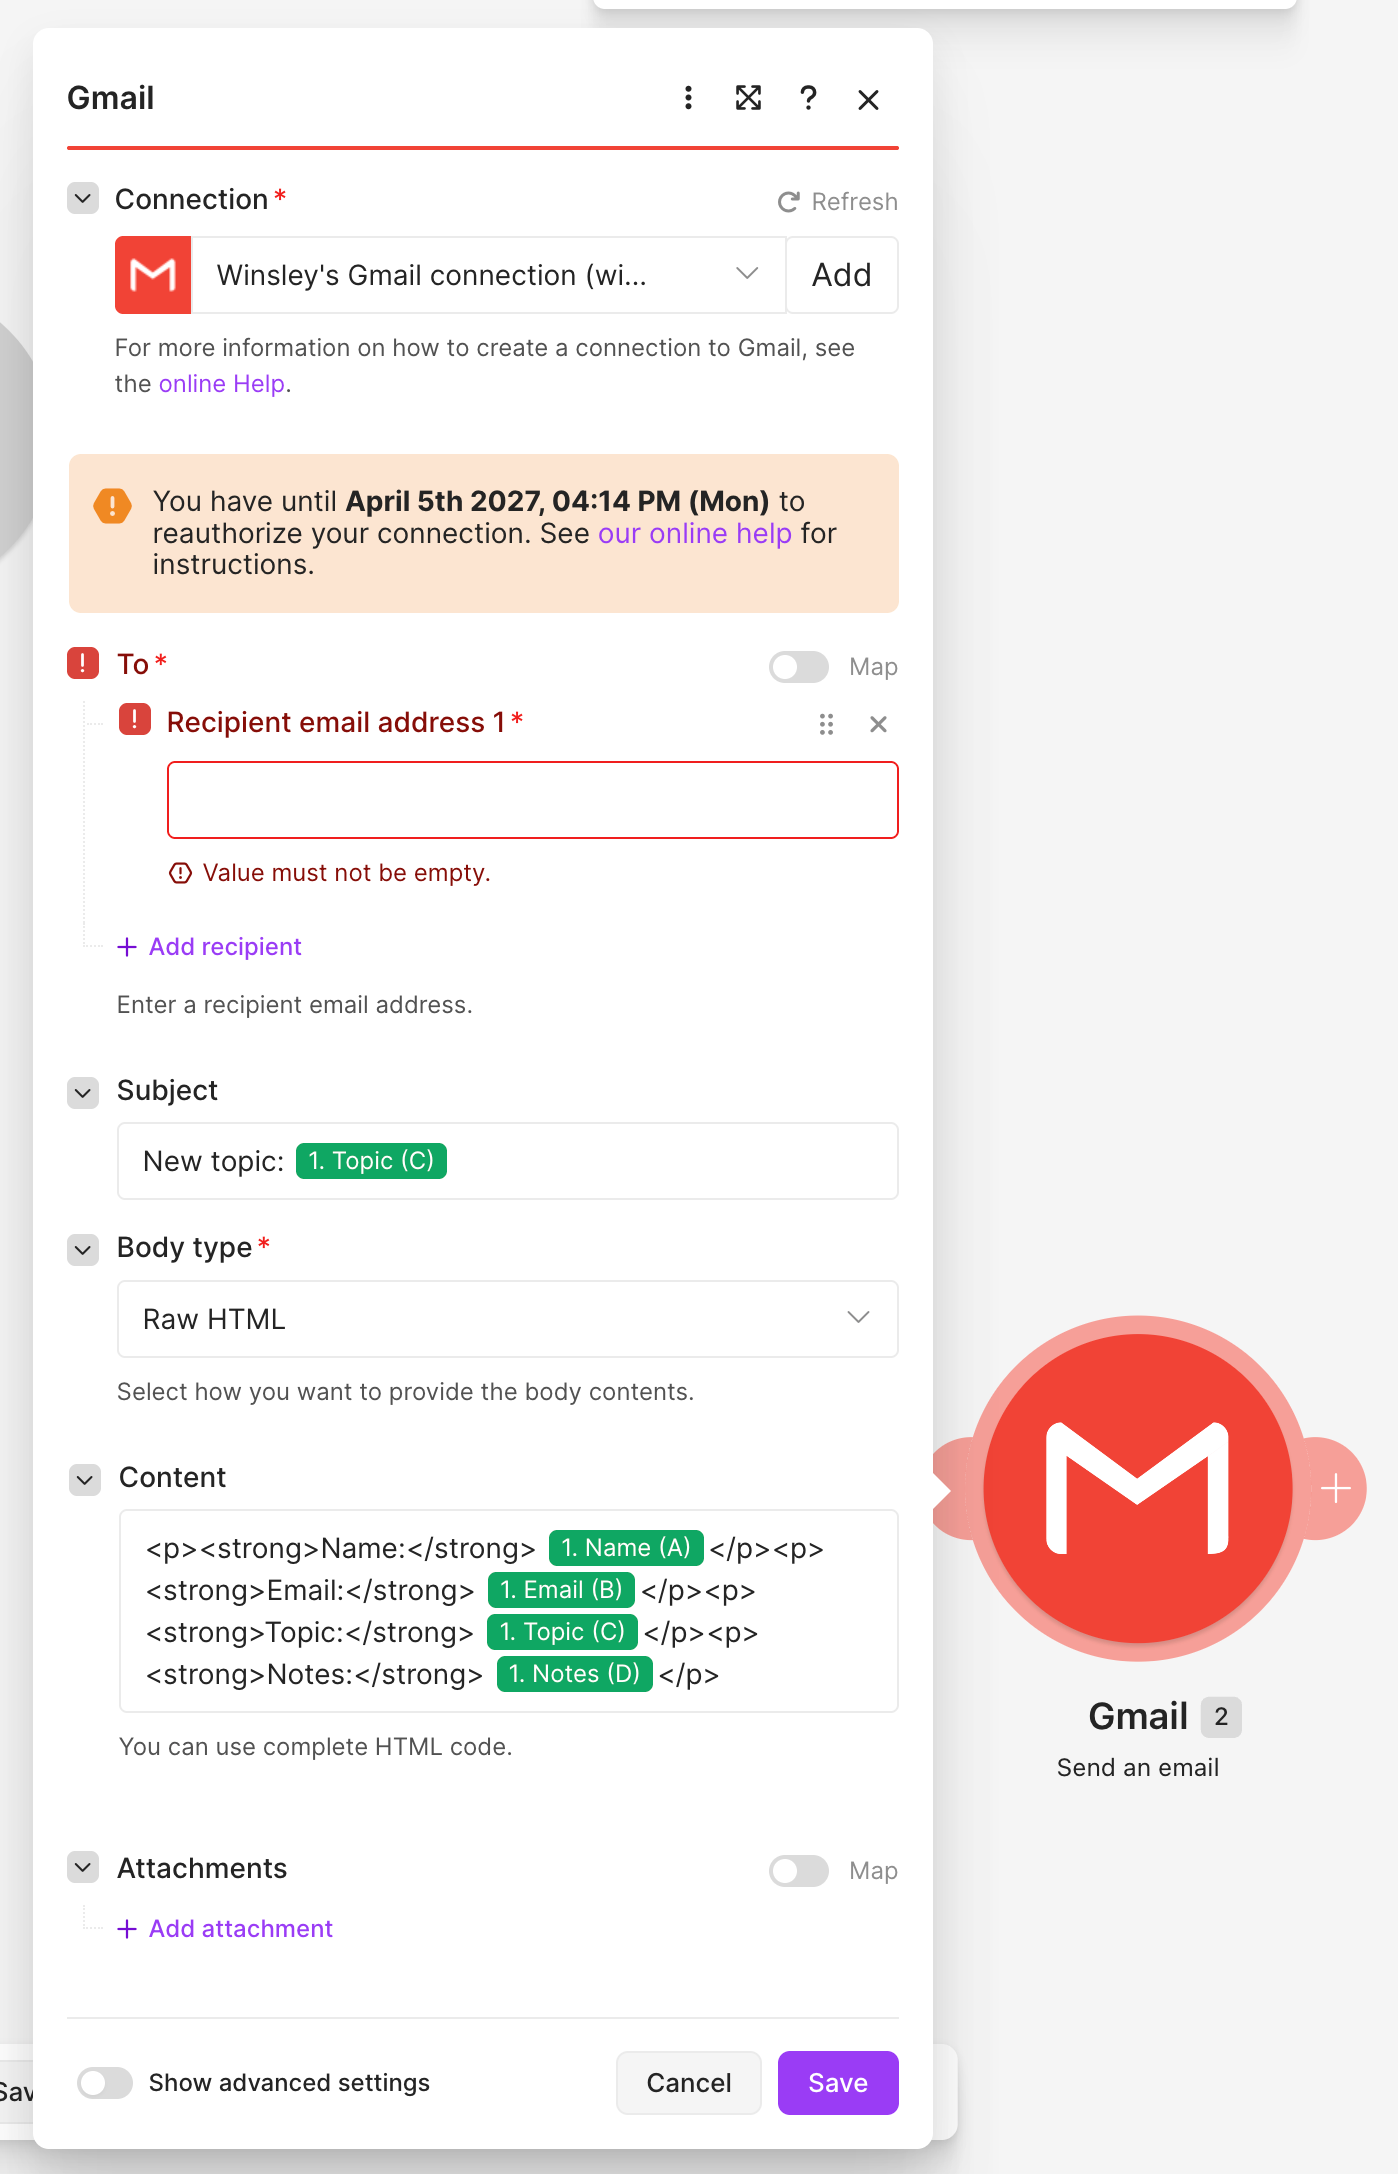
Open Gmail’s Send an email module and connect your Gmail account. Put your real test inbox in the recipient field. Our subject is New topic: followed by the mapped Topic (C) value. With the sample row, that becomes “New topic: Automation Test.”
For the body, add these labels and insert the matching Google Sheets output beside each one:
| Message label | Value to insert from Google Sheets |
|---|---|
| Name | Name |
| Topic | Topic |
| Notes | Notes |
Select the actual mapping values from Make’s field picker. Typing the word “Name” by itself only creates static text; it does not read the spreadsheet.
Make’s current Gmail documentation describes To, Subject, Body type and Body contents. Older module versions may use different labels. Source: Gmail modules.
Our screenshot uses Raw HTML as the body type. Each field sits in a separate paragraph, with its label in bold. Use this layout, replacing each bracketed placeholder with the corresponding Google Sheets mapping token:
<p><strong>Name:</strong> [Name mapping token]</p>
<p><strong>Email:</strong> [Email mapping token]</p>
<p><strong>Topic:</strong> [Topic mapping token]</p>
<p><strong>Notes:</strong> [Notes mapping token]</p>
The bracketed text explains where to insert tokens; do not paste it as literal message content. The screenshot maps Name (A), Email (B), Topic (C) and Notes (D) from module 1.
The recipient field must contain a real delivery address before you save or run the module. A blank recipient produces the “Value must not be empty” error visible in our settings screenshot. We removed the recipient address solely for privacy when taking this screenshot; the working scenario used a real address.
Leave optional copy recipients and attachments unused for this first test.
Step 6: Run the test and check your inbox
Save the module settings and select Run once. If you chose to watch only future rows, make sure you have appended a new test row first.
Inspect the module results, then open the received message. Compare its contents with the spreadsheet record:
- Name: Test User
- Email: your-email@example.com
- Topic: Automation Test
- Notes: First Make test
Our email screenshot shows these four values in the received message. That is the practical result we wanted: the row’s information reached Gmail in a readable form.
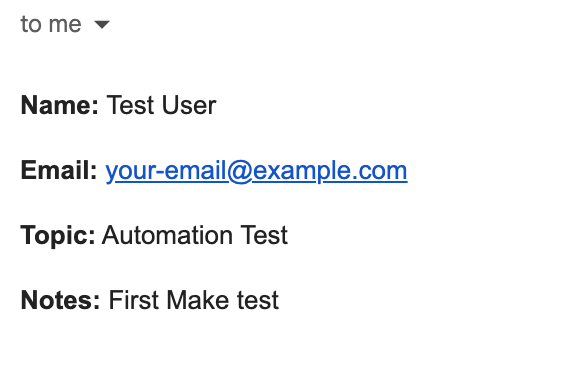
The email screenshot confirms the message content. It does not show the recipient configuration, so do not assume the Email column was used as the delivery address.
Step 7: Turn on a suitable schedule
Once the test is correct, choose a schedule your plan supports, save the scenario and activate it. This trigger checks for new rows on a schedule; it should not be described as instant email delivery.
Add another test record and check the next scheduled run. This separate check confirms the scenario works beyond a manual Run once test.
If the test does not work
No row is detected: Check the selected file, worksheet tab and starting point. If you are watching future rows, append a new record rather than editing an old one. Check for blank rows interrupting the table.
The email has labels but no values: Reopen Gmail and inspect the mapping. Make needs values from Google Sheets, not just typed column names.
A module reports an error: Open that module’s result and read the error before changing settings. Verify that its Google connection is valid and that the connected account can access the selected resource.
The message is missing: Check the recipient address, Gmail’s Sent folder and the destination inbox’s spam folder. Confirm that the Gmail step completed, rather than assuming a successful trigger means the email was sent.
Old test messages are sent again: Review whether you reset the starting point to include old rows. Test with a fresh record and avoid repeatedly changing the starting point without understanding which records it will include.
What to build next
This small scenario is a useful foundation for an internal lead notification: a new enquiry becomes a spreadsheet record, and the relevant person receives its details. Start with that straightforward use case before adding AI classification or more branches.
For planning the work you may later automate, see 4 Tools to Simplify Your Side-Hustle Workflow.
Our Make.com review covers the wider platform, pricing and learning curve. Try Make for free if you want to reproduce this first workflow.